Quick Reference
Overview
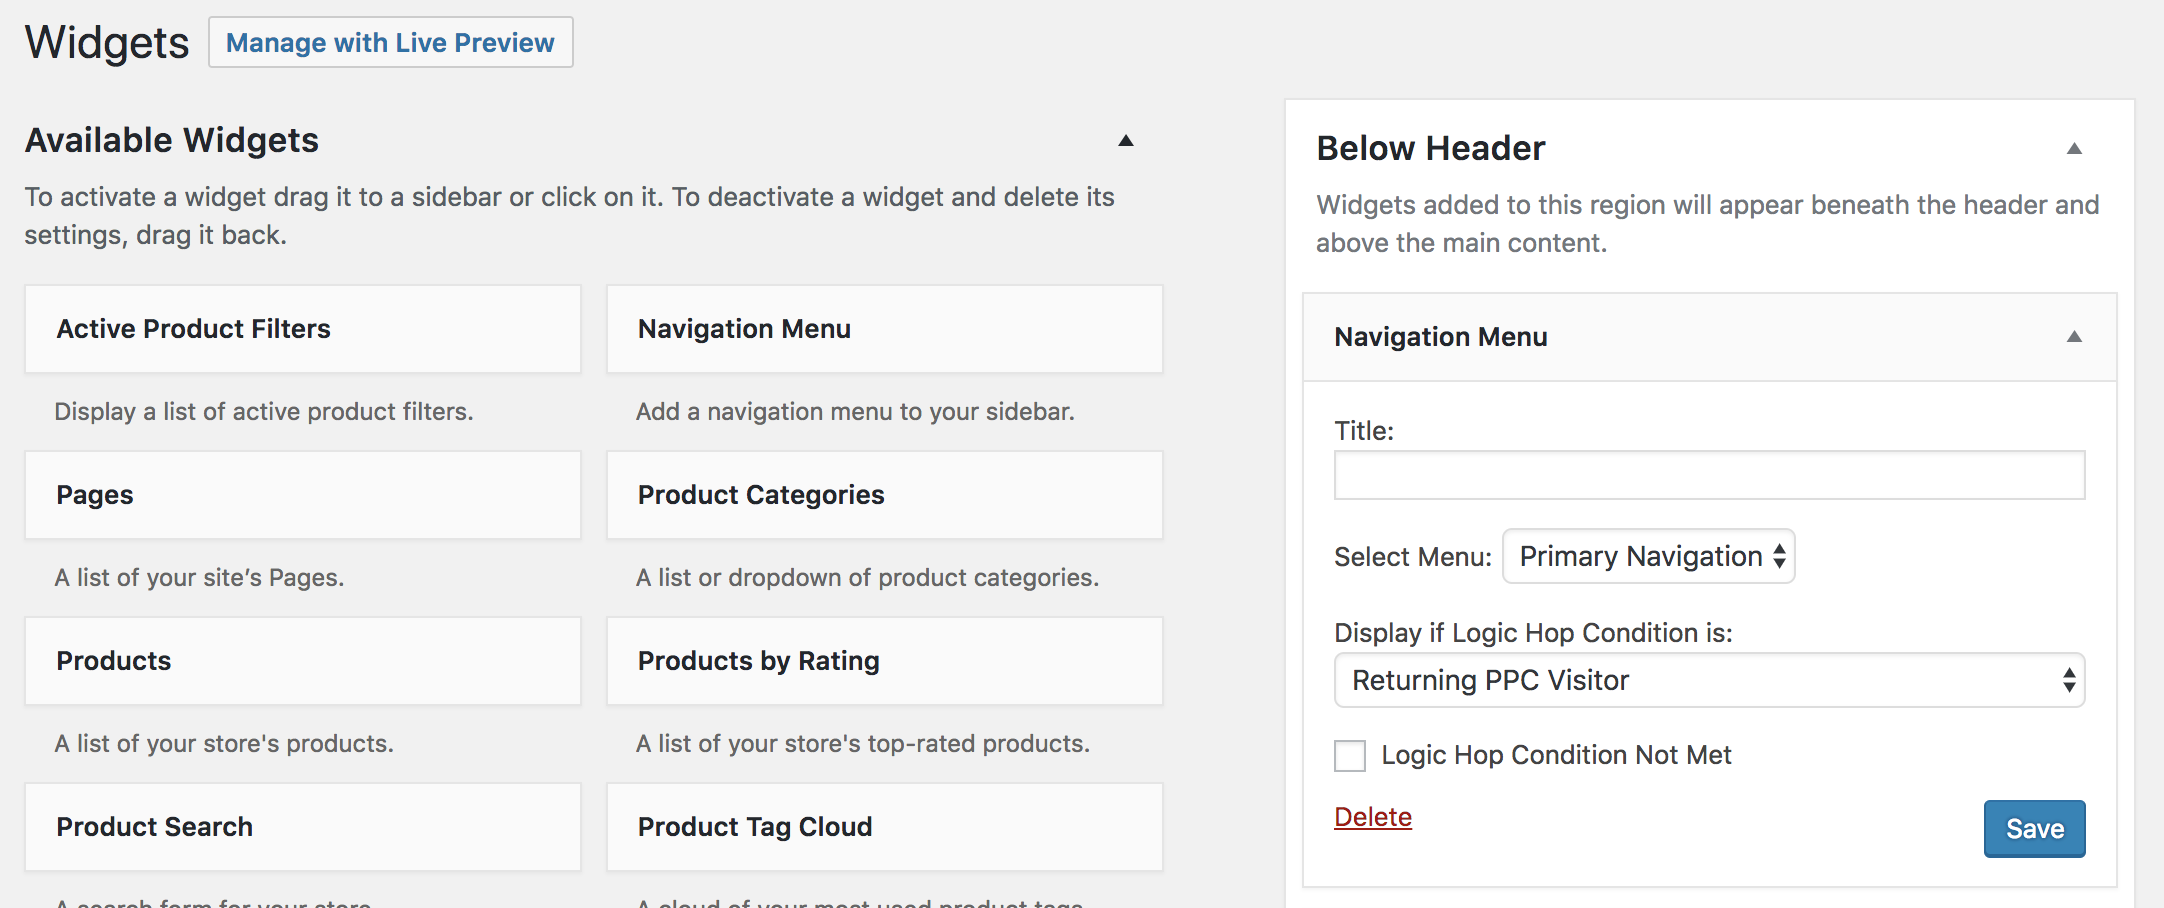
Logic Hop is fully integrated with WordPress and any Logic Hop Condition can be used to determine if any Widget will be displayed to a specific user.
Logic Hop Conditions are automatically available for all Widgets. The default display state is set to Always Display.
Create a Conditional Widget
- Step 1
- Within the WordPress Dashboard Widgets section, select the Widget to which you want to apply conditional logic
- Step 2
- Using the Display If Logic Hop Condition Is: menu, select a condition to determine if the Widget will be displayed
- To display the widget when a condition is not met, click the Logic Hop Condition Not Met checkbox
- Using the Display If Logic Hop Condition Is: menu, select a condition to determine if the Widget will be displayed
The default option Always Display will apply no conditional logic to the Widget, and it will always be displayed to all users
Note: You must create a condition before any will appear in the dropdown menu.
Learn how to create conditions.
Conditional Navigation with Widgets
To use Logic Hop Conditions to display navigation menus you can use Conditional Widgets. This may require that you adjust your theme and replace the menu area with a widget.
Learn more about adding widget areas.
Conditional Widgets and Caching
When Javascript Tracking is enabled, widgets with conditions are wrapped in a with the CSS display property set to none.
<span class="logichop-js" style="display: none;" data-cid="2" data-event="fadeIn">
  <!-- Widget Content -->
</span>
Conditions are evaluated after the page loads and, if met, a jQuery .fadeIn() event is triggered to display the widget.

