Quick Reference
Overview
Logic Tags allow you to easily add powerful conditional logic for content personalization with the click of a button.
Logic Tags are specially formatted snippets of code inserted into your WordPress posts or pages and replaced with dynamic content when the page is rendered.
When caching is active and Logic Hop Javascript Mode and Javascript Variables are enabled Logic Tags are automatically converted to HTML and rendered after the page is loaded via AJAX.
Note: If you are using Gutenberg, the Logic Hop Page/Post Tool and Logic Hop Tool Palette will not be available within your editor. Read more about Logic Hop with Gutenberg.
Conditional Logic Tags
Conditional Logic Tags display content when a Logic Hop Condition is true.
Conditional Logic Tags consist of two or more blocks of code which are place before and after the content you want to display. Almost any type of content or HTML can be placed between the blocks of code.
Logic Tags use a condition’s WordPress slug, or ID, to specify which condition will be evaluated. The easiest way to add Logic Tags to your content is to use the Logic Hop tool palette which will automatically format and insert the appropriate Logic Tags.
A basic conditional Logic Tag is written as:
{% if condition: today-is-friday %}
  Happy Friday!
{% endif %}
The Logic Tag depicted above would display the text Happy Friday! when the condition Today is Friday is true.
Conditional Logic Tags also support ELSE statements such as:
{% if condition: today-is-friday %}
  Happy Friday!
{% else %}
  Sorry it's not Friday.
{% endif %}
The Logic Tag depicted above would display the text Happy Friday! when the condition Today is Friday is true and Sorry it’s not Friday when the condition is false.
Conditional Logic Tags can also use ELSE IF statements such as:
{% if condition: today-is-friday %}
  Happy Friday!
{% elseif condition: today-is-monday %}
  Boo Monday!
{% else %}
  At least it's not Monday. I wish it were Friday.
{% endif %}
The Logic Tag depicted above would display the text Happy Friday! when the condition Today is Friday is true, Boo Monday when the Condition Today is Monday is true and At least it’s not Monday. I wish it were Friday. when both conditions were false.
By adding an exclamation point in front of the condition slug, Logic Tags check for when the condition is not met. Such as:
{% if condition: !today-is-friday %}
  Happy Friday!
{% endif %}
The Logic Tag depicted above would display the text Happy Friday! when the condition Today is Friday is false.
Logic Tags are not just for text. Any type of HTML content can be included within a conditional Logic Tag such as images, videos and forms.
Conditional Logic Tags can include Data Logic Tags as well as WordPress Shortcodes.
Multiple Conditional Logic Tags can be added to a page or post.
Nested Logic Tags
Nested Logic Tags is an experimental feature available in Logic Hop 3.2.2 and higher.
To enable:
- Open the Logic Hop Settings page
- Check Enable Nested Logic Tags
- Click Save Changes
Once enabled take a momement to review your pages which contain Logic Tags and confirm everything appears as expected. If you experience any issues please let us know and we’ll work to resolve them immediately.
The following code depicts a Nested Logic Tag:
{% if condition: today-is-friday %}
  Happy Friday!
  {% if condition: utm-code-technology %}
    It's technology time!
  {% else %}
    It's time to party!
  {% endif %}
{% elseif: today-is-monday %}
  Looks like somebody has a case of the Mondays.
{% else %}
  Just another day.
{% endif %}
Goal Logic Tags
Goal Logic-Tags trigger a Logic Hop Goal when the page or post is loaded.
The Goal Logic Tags is a single block of code and appears as:
{{ goal: newsletter-signup }}The Logic Tag depicted above would trigger the Newsletter Signup goal for a user each time the page or post was loaded.
Multiple Goal Logic Tags can be added to a page or post.
Conditional Goal Logic Tags
Conditional Goal Logic Tags trigger a Logic Hop Goal when the page or post is loaded AND a specific Logic Hop Condition is true.
The Conditional Goal Logic Tag is a single block of code and appears as:
{{ goal: newsletter-signup | condition: today-is-friday }}The Logic Tag depicted above would trigger the Newsletter Signup goal for a user each time the page or post was loaded and the condition Today is Friday is true.
Multiple Conditional Goal Logic Tags can be added to a page or post.
Data Logic Tags
Data Logic Tags allow Logic Hop data to be displayed to the user within a page.
Data Logic Tags are a single block of code and appears as:
{{ var: Location.City }}The Logic Tag depicted above would display the name of the City from which the current user was visiting.
How's the weather in {{ var: Location.City }}The Logic Tag depicted above would display: How’s the weather in {{ var: Location.City }}?
Logic Tags can be included within HTML elements, such as:
<h2>How's the weather in <span class="city">{{ var: Location.City }}</span></h2>Multiple Data Logic Tags can be added to a page or post. Data Logic Tags can also be nested within Conditional Logic Tags.
Data Logic Tags support additional attributes separated by the pipe character. The following Logic Tag would capitalize the first letter of the query string variable firstname:
{{ var: Query:firstname | case: first }}Multiple attributes can be combined such as:
Howdy {{ var: Query:firstname | case: upper | default: Partner | append: ! }}The Logic Tag above would display the query string firstname in all capital letters with an ! after the name.
For example, ?firstname=wendy would display Howdy WENDY!
If no query string was present, Howdy Partner! would be displayed.
Data Logic Tag Parameters
- var
- Variable name
- Example: Location.City
- Variable name
- case
- Change the case of the data output
- Options:
- lower
- upper
- first
- words
- default
- Default value if no data exists
- prepend
- Adds text in front of the data
- Use for preceding spaces
- append
- Adds text after the data
Using Logic Tags
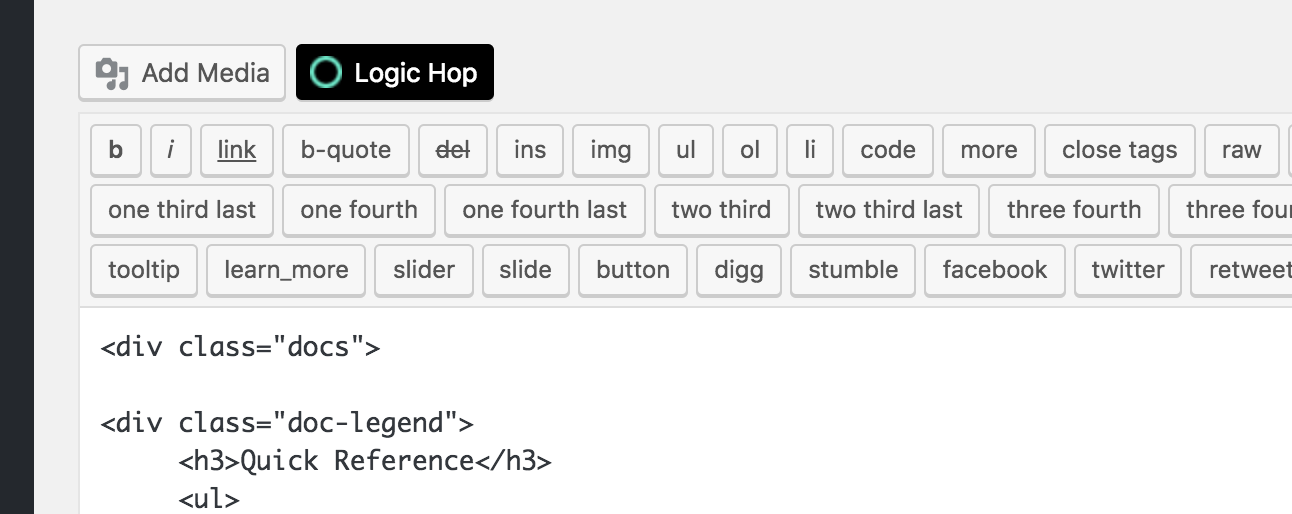
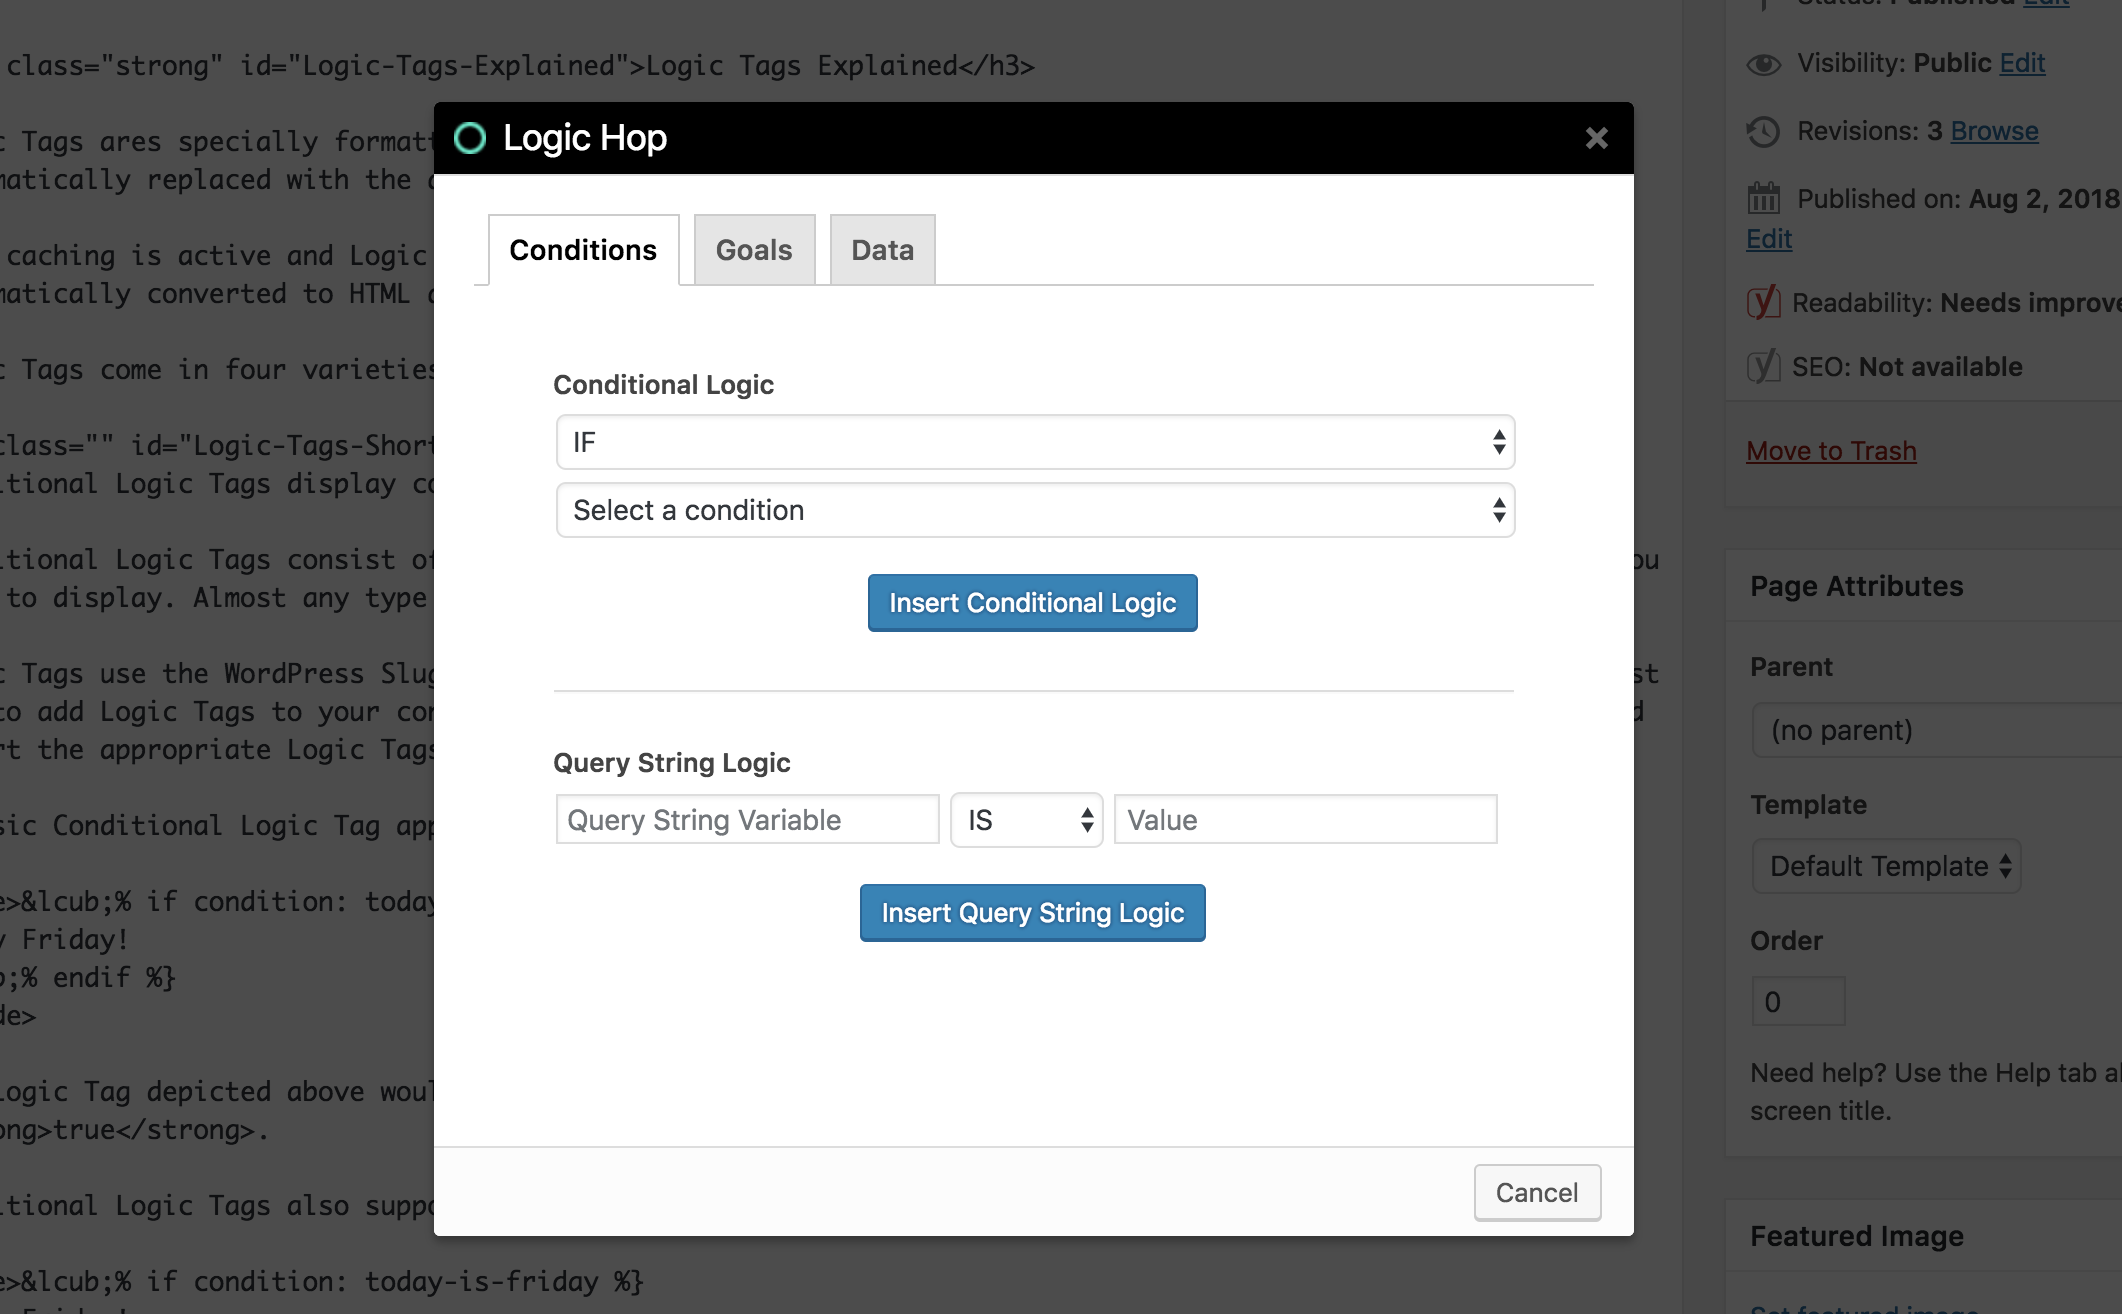
The Logic Hop Tool Palette is the fastest and easiest way to add Logic Tags to your pages and posts. You can also copy/paste Logic Tags into your content or write them directly.
- Step 1
- Click the Logic Hop button
- Step 2
- Select the Condition, Goal or Data tab
- Step 3
- Select your desired Logic Tag type
- Step 4
- Click the corresponding Insert Logic Tag button
- Step 5
- Adjust the Logic Tag within your content if necessary
Congratulations! Your Logic Tag is now ready for use.
Logic Hop Tool Palette Button

Logic Hop Tool Palette


